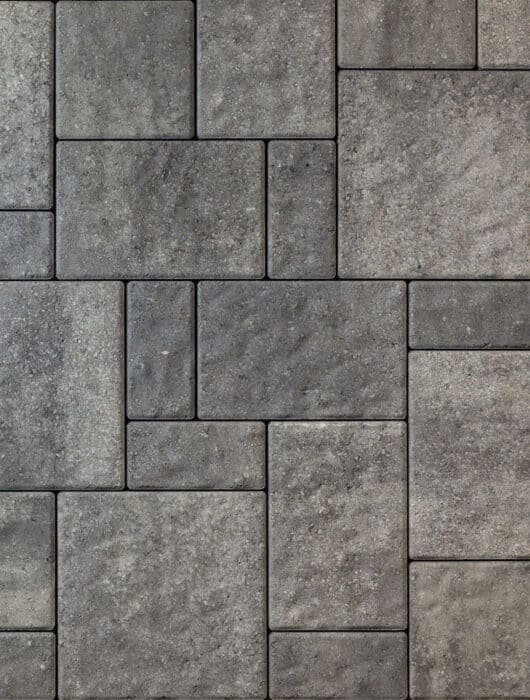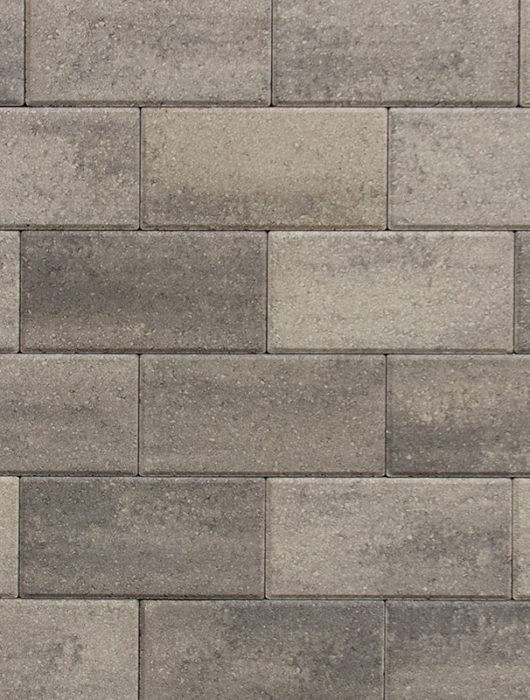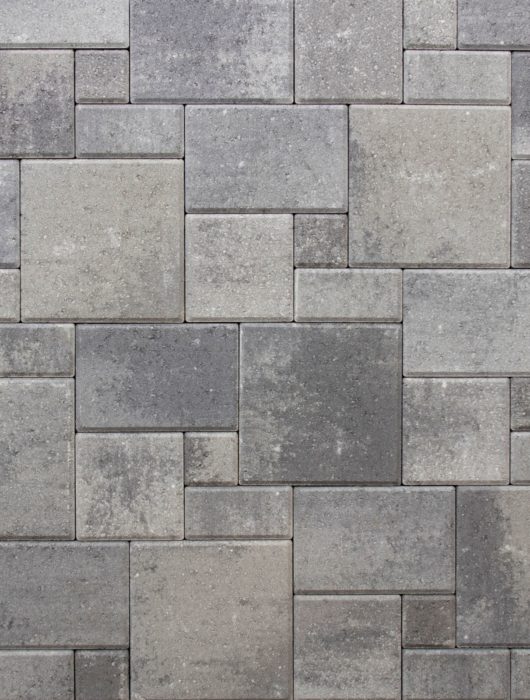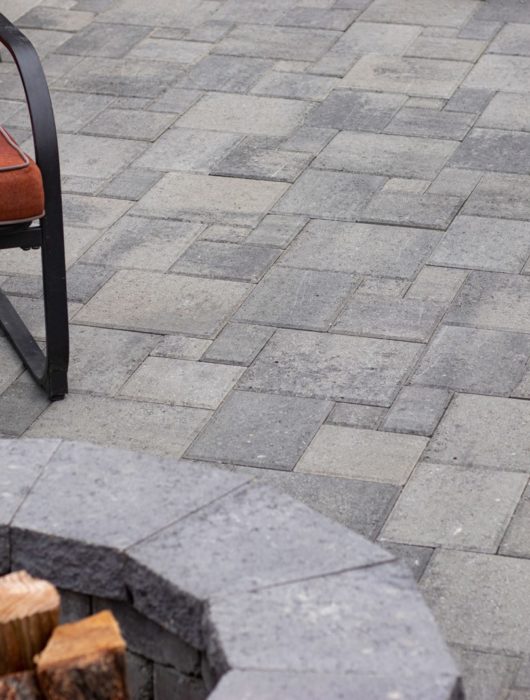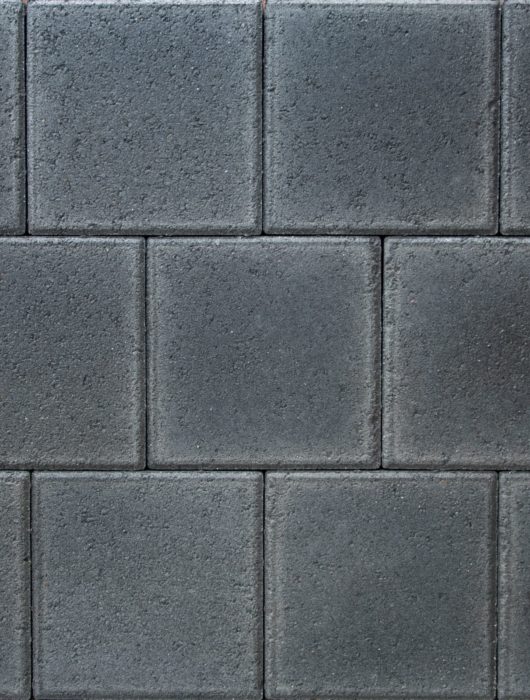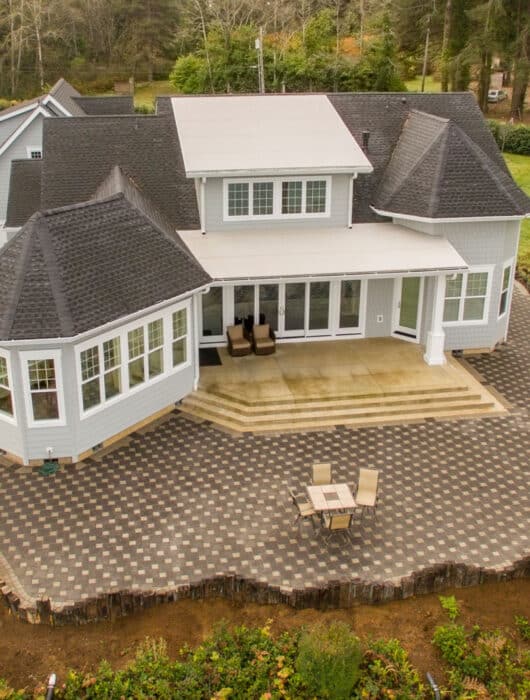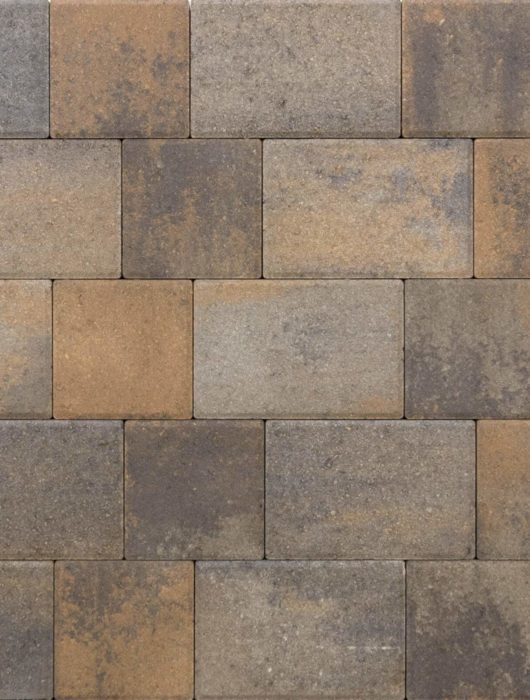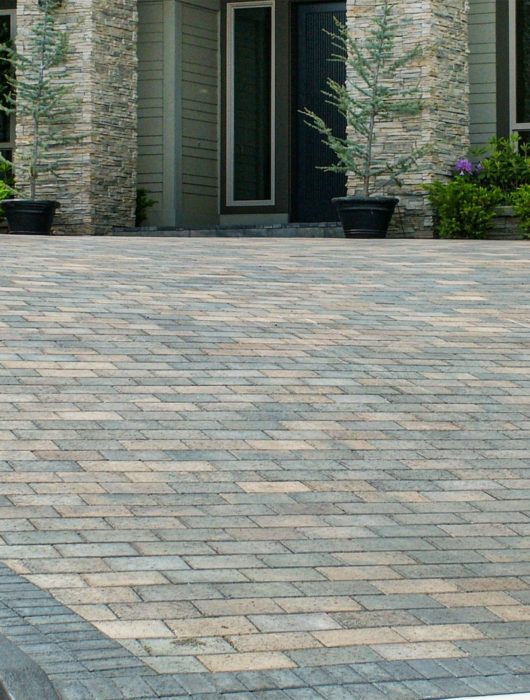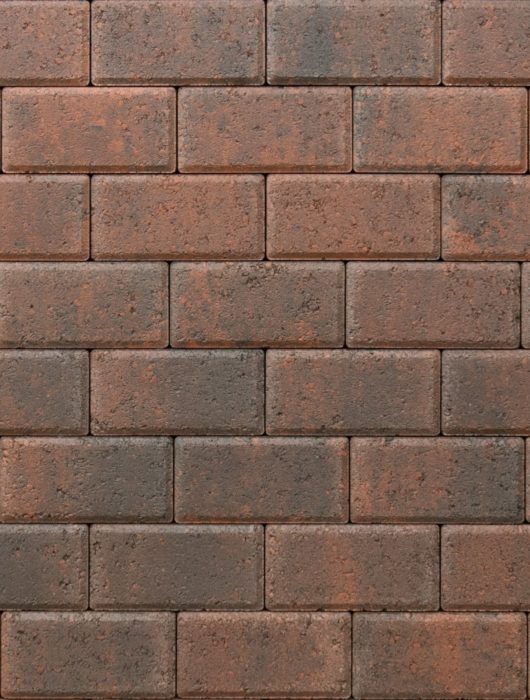


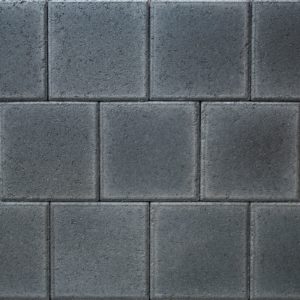
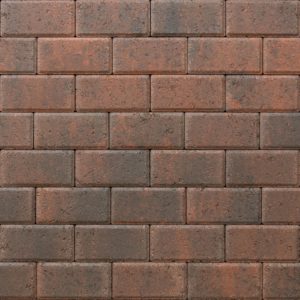

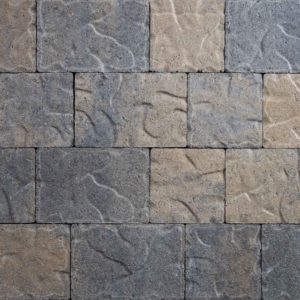
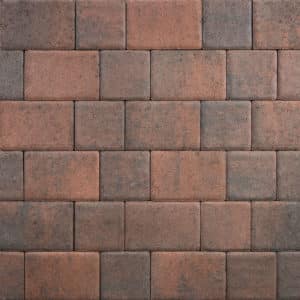
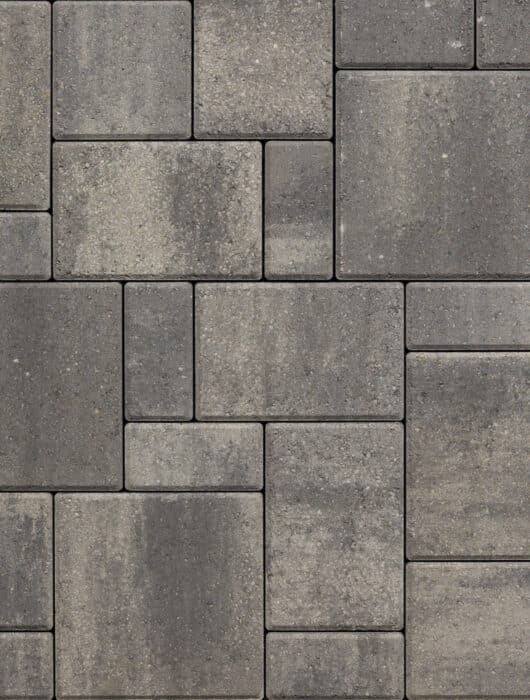
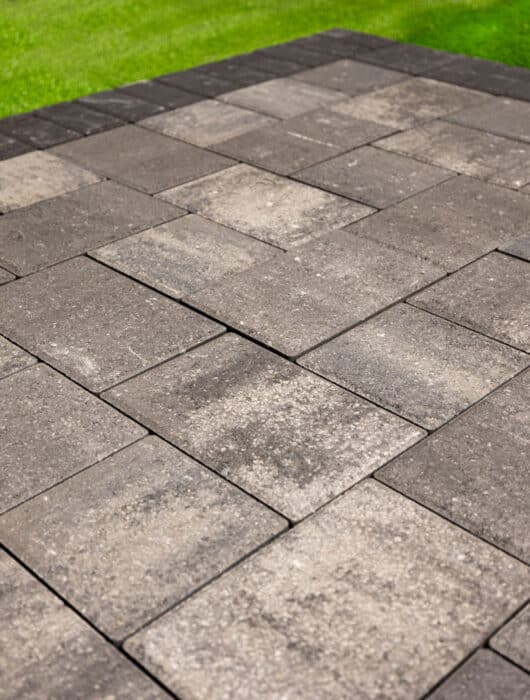
Milana™ Moderna
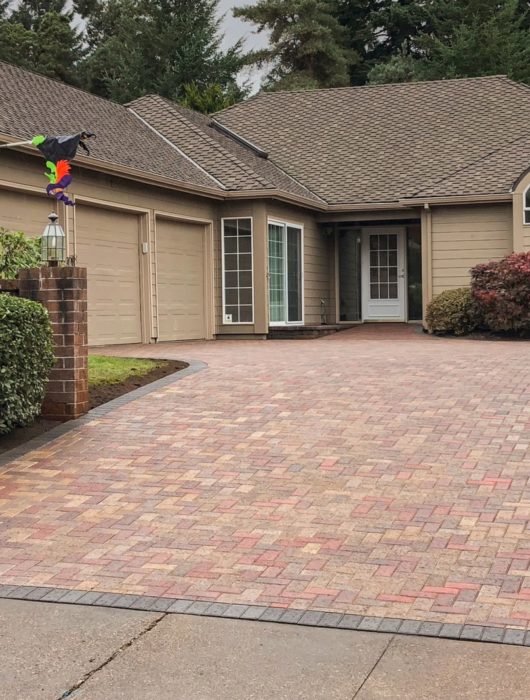
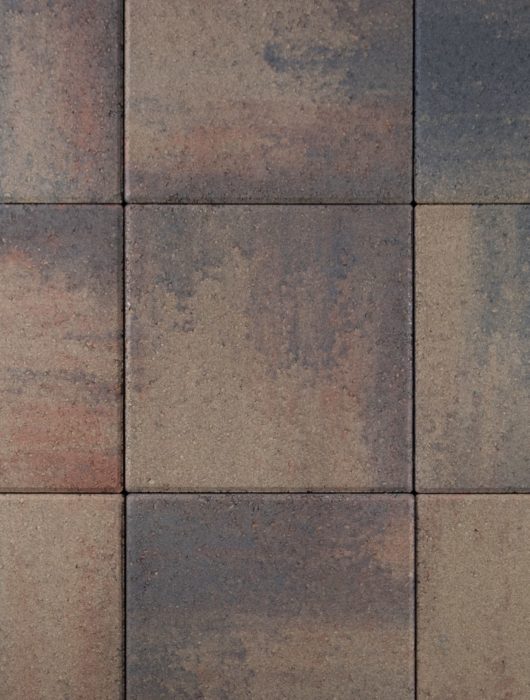
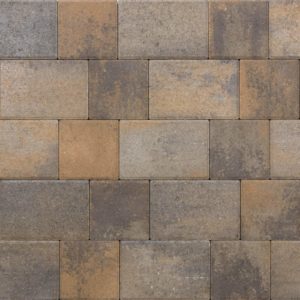
A larger format driveway paver offering a sleek, contemporary vibe. For this new paver, we've taken the module of our Alpine Stone and added the smooth surface and bevel from our popular Leiden Collection.
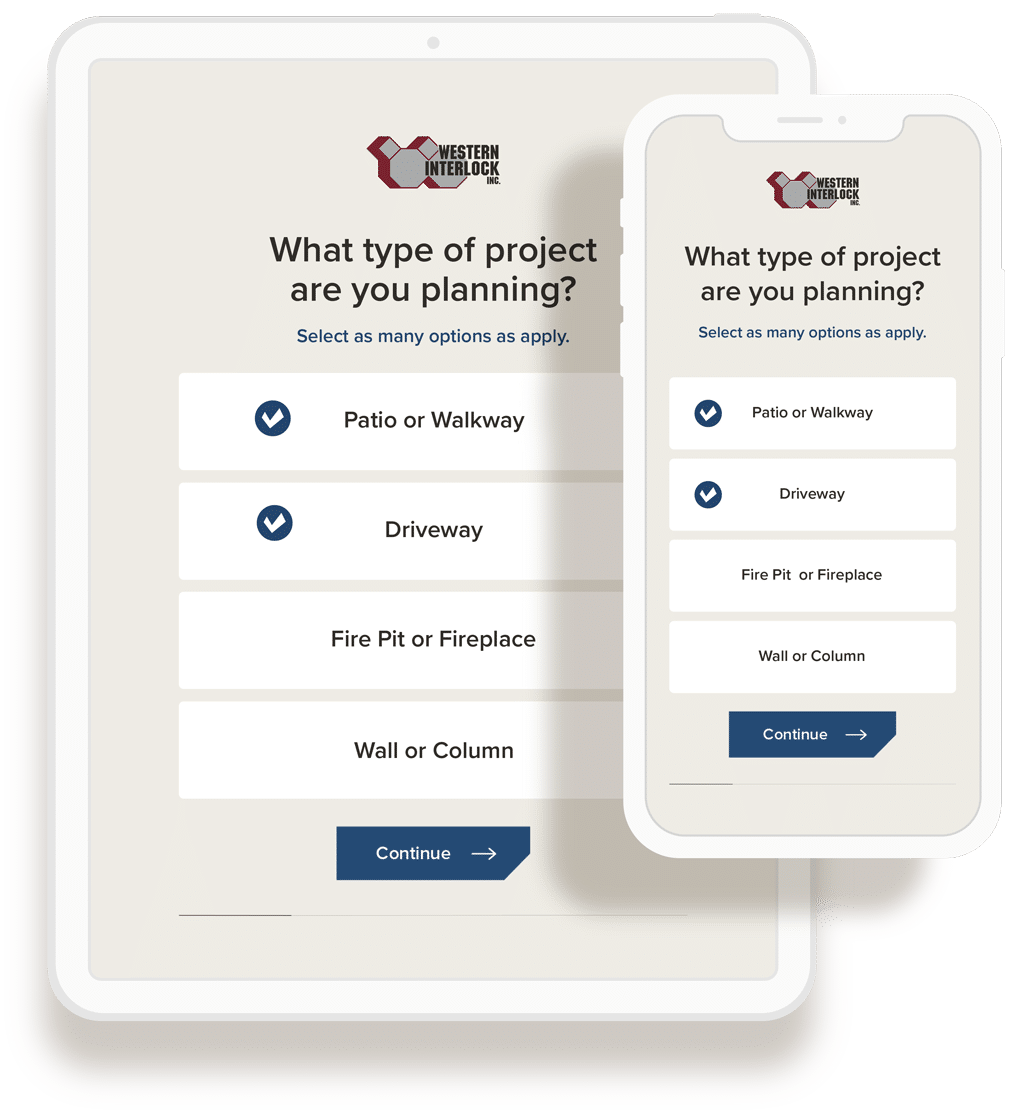
Choosing a paver can sure feel overwhelming. You have to consider size, style, thickness, color, and more. That’s why we made a short and simple quiz that asks a few questions about what you’re looking for and, at the end, provides a recommendation, or two, you can start with.
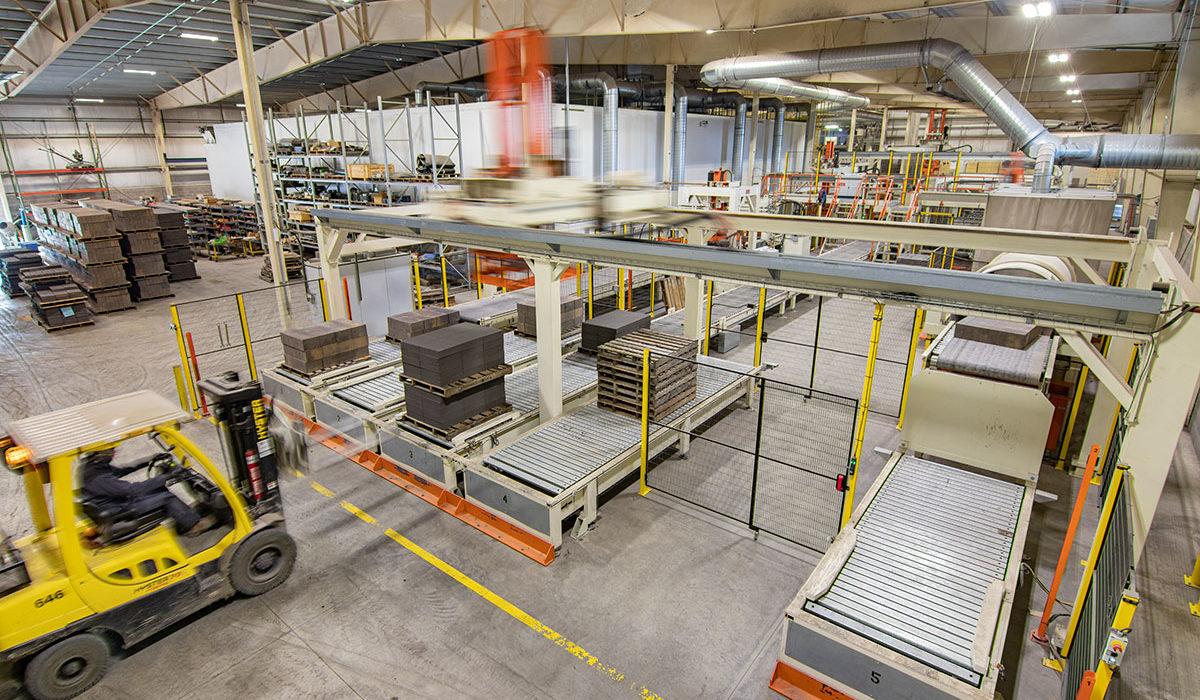
Learn MoreOur interlocking concrete paving stones are made from dry-cast concrete. With a wide range of sizes, textures, and colors; from the small 98 x 98mm (4 x 4 in) Half Holland to the 606 x 606mm (24 x 24 in) Large Square La Lastra™, there’s sure to be a Western Interlock paving stone that suits your needs.
Choosing a paver can sure feel overwhelming. You have to consider size, style, thickness, color, and more. That’s why we made a short and simple quiz that asks a few questions about what you’re looking for and, at the end, provides a recommendation, or two, you can start with.
Learn More© 2024 Western Interlock. All rights reserved. Web Design by Structure.